Dumbbell Chest Exercises

Dumbbell Chest Exercises — Evidence-Based Guide & Exercise Protocol

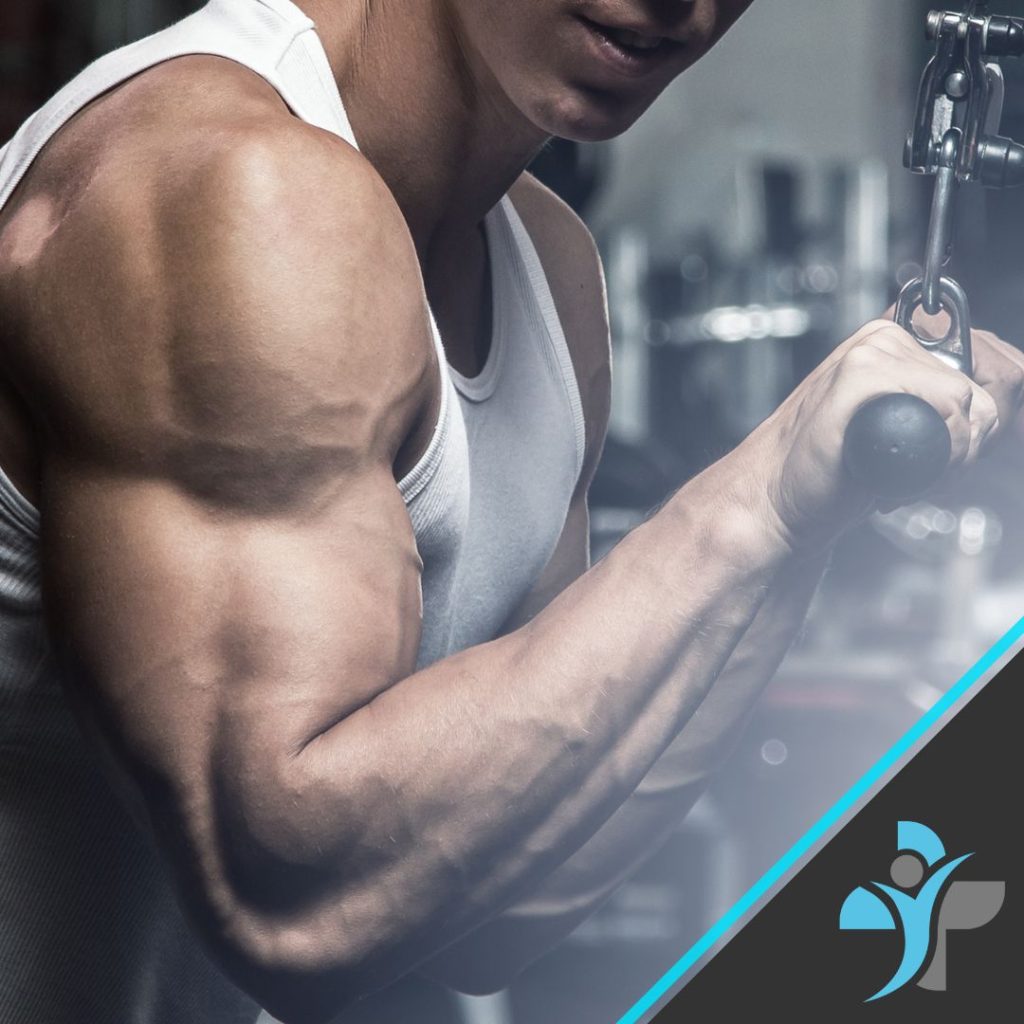
This article focuses on dumbbell chest exercises, a versatile and effective approach for building chest strength, improving shoulder stability, and supporting balanced upper-body development.
These exercises are commonly used in gym-based training and structured rehabilitation programmes.

Why Are Dumbbell Chest Exercises Used?

Dumbbell chest exercises allow each arm to work independently, encouraging balanced muscle activation and improved neuromuscular control. Research and clinical experience suggest dumbbell training can support:

  • Increased pectoral muscle activation
  • Improved shoulder control and stability
  • Reduced side-to-side strength imbalances
  • A more natural, joint-friendly range of motion

Who Are These Exercises Suitable For?

Dumbbell chest exercises are generally appropriate when:

  • You can perform pressing movements without shoulder or chest pain
  • Exercises are performed with controlled technique
  • They are part of a structured training or rehabilitation programme

If you are unsure whether these exercises are appropriate for you, please contact us.

Dumbbell Chest Exercises

The following exercises are demonstrated in accompanying videos and should be performed with slow, controlled movement.

Dumbbell Chest Press

How to perform:

  • Lie on a bench or floor holding dumbbells at chest height
  • Keep elbows slightly below shoulder level
  • Press the dumbbells upward until arms are extended
  • Lower slowly back to the starting position

Focus: Controlled pressing with stable shoulders and neutral wrists.

Dumbbell Chest Fly

How to perform:

  • Lie on a bench with dumbbells held above the chest
  • Lower the arms out to the side with a slight bend in the elbows
  • Stop when a comfortable stretch is felt
  • Bring the dumbbells back together under control

Focus: Controlled range without overstretching the shoulders.

Incline Dumbbell Press

How to perform:

  • Set the bench to a slight incline
  • Hold dumbbells at upper chest level
  • Press upward and slightly inward
  • Lower slowly under control

Focus: Targets the upper chest while maintaining shoulder stability.

Isometric Dumbbell Chest Hold

How to perform:

  • Lie on a bench holding dumbbells with arms extended
  • Hold the position for 10–20 seconds
  • Maintain steady breathing and shoulder stability

Focus: Improves endurance and shoulder stability.

How Often Should These Be Done?

  • Repetitions: 8–12 per set, 10–20 second holds.
  • Sets: 2–4
  • Frequency: 2–3 times per week
  • Rest for 60–90 seconds between sets. Choose a load that allows full control throughout each movement.

Safety Considerations

  • Stop if sharp chest or shoulder pain occurs
  • Reduce weight if form deteriorates
  • Avoid locking the elbows aggressively at the top of movements
  • Seek assessment if pain persists or worsens

Dumbbell Chest Exercises

Related Articles

If you are interested in further upper-body exercises, you may find the following useful. When training the chest, the triceps play a significant supporting role.

Exercises for triceps

Get in Contact!

At Livewell Health, our expert team of personal trainers and strength and conditioning coaches are on hand to answer any questions you may have and / or help you design a robust plan for your fitness efforts moving forward. Book your consultation Today, and start your fitness journey!

Follow us on social media for recovery tips and updates:
Instagram : @LWHEALTH
Facebook : @livewellhealthuk

Should I Cold Plunge Before or After a Workout?

Should I Cold Plunge Before or After a Workout?

Cold water immersion, often referred to as a “cold plunge,” has grown in popularity, with many athletes and fitness enthusiasts embracing it for its numerous health benefits. Known for its potential to reduce muscle soreness, boost mental health, and improve factors such as blood pressure and body fat levels, cold plunging is often hailed as a powerful recovery tool. But when should you incorporate a cold plunge into your workout routine—before or after exercise?

The Benefits of Cold Water Therapy

Cold water therapy offers several benefits, especially in the realm of sports and recovery. Athletes commonly use it to reduce muscle damage and delayed onset muscle soreness (DOMS) after intense workouts. The cold temperature constricts blood vessels and reduces inflammation, helping muscles recover faster by flushing out waste products such as lactic acid.

Beyond physical recovery, cold plunging has also been shown to support mental health. The shock of cold water can trigger the release of endorphins and adrenaline, which can reduce stress and improve mood. Regular cold immersion may also help regulate blood pressure, improve circulation, and even reduce body fat.

Cold Plunging After a Workout: A Double-Edged Sword

Given these benefits, it might seem like a no-brainer to hop into a cold plunge after every workout to speed up recovery. However, the science behind cold plunging post-workout suggests a more nuanced approach.

While cold plunging reduces muscle inflammation and soreness, it can also interfere with a crucial aspect of strength training—muscle growth. During exercise, muscle fibers undergo microscopic damage, and the body’s inflammatory response triggers the healing process. This inflammation is necessary for muscle repair and growth, known as hypertrophy.

When you cold plunge immediately after a workout, you reduce the inflammation needed for this process, which could slow down muscle growth. Studies show that while athletes who regularly use cold plunges still see muscle growth, the gains are not as significant compared to those who avoid cold plunging after strength training.

Cold Plunging Before a Workout

Cold plunging before a workout can offer a different set of benefits. Some people find that a quick cold plunge before exercising improves alertness, sharpens focus, and provides an energy boost. The cold water can wake up the nervous system, making you feel more refreshed and ready to tackle your workout.

However, there are potential downsides to cold plunging before exercise. The body’s muscles may stiffen after exposure to cold temperatures, potentially reducing flexibility and mobility. If your workout requires a lot of dynamic movements, or if you’re lifting heavy weights, a pre-workout cold plunge might not be the best option as it could limit your range of motion or even increase the risk of injury.

So, Should You Cold Plunge Before or After?

The answer depends on your fitness goals and current needs:

  • For muscle growth and strength: If your primary goal is to build muscle, avoid cold plunging right after workouts. The reduction in inflammation could hinder the hypertrophic process and slow down your muscle gains.
  • For fast recovery: If you’re preparing for a sports tournament, race, or multiple events in a short time, cold plunging after workouts can speed up recovery, reduce soreness, and help you perform at your best in a short time frame.
  • For mental and physical refreshment: A cold plunge before a workout may provide an energising boost and improve mental focus, making it a good option for those seeking a fresh start to their exercise routine.

Conclusion

Cold plunges offer numerous benefits, but timing is key. If muscle growth is your primary goal, save your cold plunges for non-training days or use them strategically to enhance recovery between competitive events. Always listen to your body and consider your unique fitness goals before incorporating cold water therapy into your routine. And, if you have underlying health conditions, consult your doctor before starting any form of cold immersion therapy.

For further help with your training, and or recovery contact our amazing Sports Therapists and Personal Trainers at 0330 043 2501, info@livewellhealth.co.uk or contact us through our website.

Ankle Stability Exercises

Ankle Stability Exercises

The ankle joint is a complex hinge joint that connects the lower leg bones (the tibia and fibula) to the foot bone (the talus). It plays a critical role in weight-bearing activities such as walking, running, and jumping. This joint is stabilized by a network of ligaments, tendons, and muscles, which work together to maintain its position and resist movements that could lead to injury.

Anatomy

The ankle joint, or talocrural joint, is a hinge joint connecting the lower leg bones (tibia and fibula) to the foot bone (talus). This joint plays a critical role in weight-bearing and movement, enabling actions like walking, running, and jumping. The tibia and fibula form a stable structure around the talus, providing both flexibility and stability. The joint is lined with a synovial membrane that produces fluid to reduce friction, while articular cartilage cushions the bones during movement.

Stability in the ankle is maintained by ligaments and tendons. Key ligaments include the deltoid ligament on the inner side, which prevents over-eversion, and the lateral ligaments (anterior and posterior talofibular and calcaneofibular ligaments), which prevent excessive inversion. Tendons like the Achilles tendon, connecting the calf muscles to the heel, and the peroneal tendons, which stabilize the outer ankle, ensure controlled motion and protection from injury.

Surrounding muscles, such as the calf muscles (gastrocnemius and soleus), tibialis anterior, and peroneal muscles, work to move and stabilize the ankle. Together with the ligaments and tendons, they allow the ankle to function as a strong, flexible foundation for everyday activities and high-impact movements, while reducing the risk of injury.

Symptoms

Issues with ankle stability often manifest as frequent sprains, a sensation of wobbliness, pain, swelling, and difficulty bearing weight on the affected ankle. Chronic ankle instability can also cause recurring discomfort and impact an individual’s ability to engage in physical activities.

Causes

Ankle instability can result from various factors, including:

  • Weak muscles supporting the joint.
  • Poor neuromuscular control.
  • Previous ankle injuries, such as sprains or fractures.
  • External factors like inappropriate footwear or uneven surfaces during physical activity.

Recurrent injuries can lead to chronic ankle instability, further increasing the risk of complications.

Diagnosis

Diagnosing ankle instability typically involves a physical examination by a healthcare professional. The process may include:

  • Assessing the range of motion and strength of the ankle.
  • Reviewing the patient’s history of injuries.
  • Imaging studies such as X-rays or MRIs to evaluate the condition of the ligaments, tendons, and bones.

Treatment

Treatment for ankle instability aims to strengthen the joint, improve neuromuscular control, and prevent further injuries. Interventions include:

  • Deep Tissue Massage and Sports Massage: These therapies help alleviate muscle tension, improve circulation, and promote healing.
  • Reflexology: Targeted pressure on specific points of the foot to support ankle function.
  • Heat and Ice Therapy: Heat helps relax muscles, while ice reduces inflammation and pain.
  • Medical Acupuncture: Stimulates the body’s natural healing processes and reduces pain.
  • Cupping Therapy: Promotes blood flow and aids in recovery.

Exercises

Strengthening exercises are essential for improving ankle stability. Here are some effective options:

  1. Ankle Dorsiflexion
    Use a resistance band to lift your foot toward your shin, strengthening the muscles at the front of the ankle.
  2. Ankle Plantar Flexion
    Press your foot away from your body using a resistance band, targeting the calf and ankle.
  3. Eversion and Inversion
    With a resistance band, move your foot outward (eversion) and inward (inversion) to strengthen the ankle’s stabilizing muscles.
  4. Calf Raises
    Stand on your toes and lift your heels off the ground to build strength in the calf and ankle.
  5. Balance Exercises
    Stand on one foot to enhance proprioception and improve stability.

Conclusion

Ankle stability is essential for maintaining proper joint function and preventing injuries. Through targeted exercises and strength and conditioning regime’s designed by our Physiotherapists or Sports Therapists combined with other modalities such as deep tissue massage, reflexology, and medical acupuncture, combined with specific strengthening exercises, individuals can significantly improve their ankle health.

If you experience recurring ankle issues such as sprains or weakness, or if you have sport-specific needs, contact our team of specialists. We can develop a personalized exercise plan and provide professional treatments to support your recovery and performance.

Exercises for Triceps

Strengthening

Triceps Extension:

  • Stand with feet shoulder-width apart and hold a dumbbell in each hand.
  • Keep your elbows close to your body and bend your arms, lowering the weights behind your head.
  • Straighten your arms to raise the weights back to the starting position.

Triceps Pushdowns:

  • Stand facing a cable machine and attach a straight bar to the cable.
  • Grasp the bar with an overhand grip and keep your elbows close to your body.
  • Push the bar down until your arms are fully extended.
  • Return the bar to the starting position.

Triceps Kickbacks:

  • Stand with feet shoulder-width apart and hold a dumbbell in each hand.
  • Bend forward from your hips and keep your back straight.
  • Keep your upper arms close to your sides and straighten your arms, extending the weights behind you.
  • Return the weights to the starting position.

Triceps Dips:

  • Grasp the bars of a dip station.
  • Lower your body by bending your arms until your upper arms are parallel to the floor.
  • Push back up to the starting position.

Overhead Triceps Extension:

  • Stand with feet shoulder-width apart and hold a dumbbell overhead with both hands.
  • Keep your elbows close to your head and bend your arms, lowering the weight behind you.
  • Straighten your arms to raise the weight back to the starting position.

Skull Crushers:

  • Lie on a bench or mat with your feet flat on the floor.
  • Hold a barbell or dumbbells with an overhand grip and extend your arms straight up.
  • Lower the weights to your temples, then press back up to the starting position.

Exercises for Triceps by Livewell Health

Stretching

Leaning stretch:

  • Kneel away from chair
  • Lean forward to be parallel to floor
  • Place elbows on chair above head
  • Bend elbows to support you
  • Look at floor and line up head with neck and back
  • Elbows should be the only part of you touching the chair
  • Bring forearms towards neck and place hands on back of neck
  • Press torso towards floor while exhaling
  • Hold for 30 seconds

Overhead Triceps Stretch:

  • Stand with feet shoulder-width apart
  • Reach overhead with one arm and bend elbow
  • Bring hand towards upper back
  • Use other hand to gently press down on elbow
  • Hold stretch for 15-30 seconds, switch side

Wrist Pull:

  • Stand with feet shoulder-width apart
  • Hold one arm out in front of you with your palm facing down
  • Use your other hand to gently pull your fingers towards your wrist
  • Hold the stretch for 15-30 seconds, then switch sides

Cross-Body Triceps Stretch:

  • Stand with feet shoulder-width apart
  • Reach across your body with one arm, placing hand on shoulder
  • Use other hand to gently press down on elbow
  • Hold stretch for 15-30 seconds, switch sides

If you want to know more about correct technique or would like professional advice from one of our personal trainers then please get in touch. Furthermore, if you are including trcieps exercises into your regime and they are causing you some aches and pains, then we can help there too with our specialist sports massage service.

Related Articles:

Dumbell Chest Exercises

For more information on how these types of massage could help you, contact us on 07939 212 739 or drop us an email at info@livewellhealth.co.uk